Planning the floor for seats, tables, stools and aisles
A furniture plan you can use
Draw the counter before the chairs.
Put the counter, the line and the door on the plan first, then fill the floor with tables. Leave about 36 inches for the aisles staff walk with trays, and check each table against its listed size.
The layout tool is a planning aid. Confirm the final arrangement against the real space and the requirements that apply to your venue before installation; a saved drawing is not an approved building or accessibility plan.
Browse furniture categoriesFrom the furniture collection
Draw your arrangement
Count the seats your shop floor can take.
Choose furniture, enter measurements in inches, and redraw the arrangement. Product footprints come from listed dimensions. All controls stay in this browser.
Furniture arrangement study. Confirm selected sizes, table height, seat fit and circulation before ordering. Doors, columns, service areas, accessibility and required exit routes are not modeled. Counts describe the drawing, not an approved occupancy or seating capacity. The counter is your own fixture.
Read the full room planning guide
Furniture is the last thing to choose and the first thing to measure for. Get the floor on paper, mark the counter, the window and the door, and the furniture count follows from there. The figures below are general planning numbers for early sketches. Whatever these say, the occupancy limit in your code wins, and the person who checks building, fire and accessibility rules for your site is your architect or designer.
Square feet per seat
Take the floor area you will seat customers in, leaving out the kitchen, the counter run and the line, then divide by a figure that fits the kind of room. These ranges are for planning only:
- Counter service and fast casual: about 11 to 14 square feet per seat.
- Full-service dining room: about 12 to 15.
- Bar and lounge seating: about 10 to 12.
- Banquet or event room: about 10 to 11.
- Fine dining: about 18 to 20.
Most cafes, bakeries and delis sit in the counter-service band. A deli where people perch for ten minutes can run tighter. A cafe where laptops stay all afternoon wants the roomier end.
Table size by party
Two people can share a 24 by 24 inch top at a pinch. A 24 by 30 is the everyday two-seat table, and 30 by 30 gives two people room to spread out a pastry and a paper. Four people squeeze round a 30 by 30, settle in at 36 by 36, or line up along a wall at a 30 by 48 rectangle.
Round tops: 36 inches will seat four if they don't mind elbows. For four to six, go to 42 or 48 inches. Eight people need a 60-inch round.
Give every customer roughly two feet along the edge of the table. Eighteen inches is the floor, and only when the shop is packed.
Heights that belong together
For eating, tables come in around 29 to 30 inches high and chair seats around 17 to 19. At a 34 to 36 inch counter the stool seat belongs at 24 to 26 inches. A bar or window ledge of 40 to 42 inches takes a stool of about 29 to 31. Whatever the height, the knees live in the gap from seat to tabletop, so keep it at 10 to 12 inches. Buy the stool for the ledge, not the other way round.
Room to move
A seated customer pushes back 18 to 24 inches to stand up, so leave that behind every chair. Service aisles want about 36 inches, more where staff carry trays past a queue. Walk the route from the till to the farthest table with a tray in your hand. If you turn sideways anywhere, so will everyone else.
Window bars and counter stools
Stool to stool, allow 24 to 30 inches, taken seat center to seat center. The tight end suits a window bar where regulars sit for one coffee. The wide end suits a counter where people eat a full lunch with their elbows out. A 16-foot window, 192 inches, seats eight stools at 24 inches apart or six at 30.
A table that will not rock
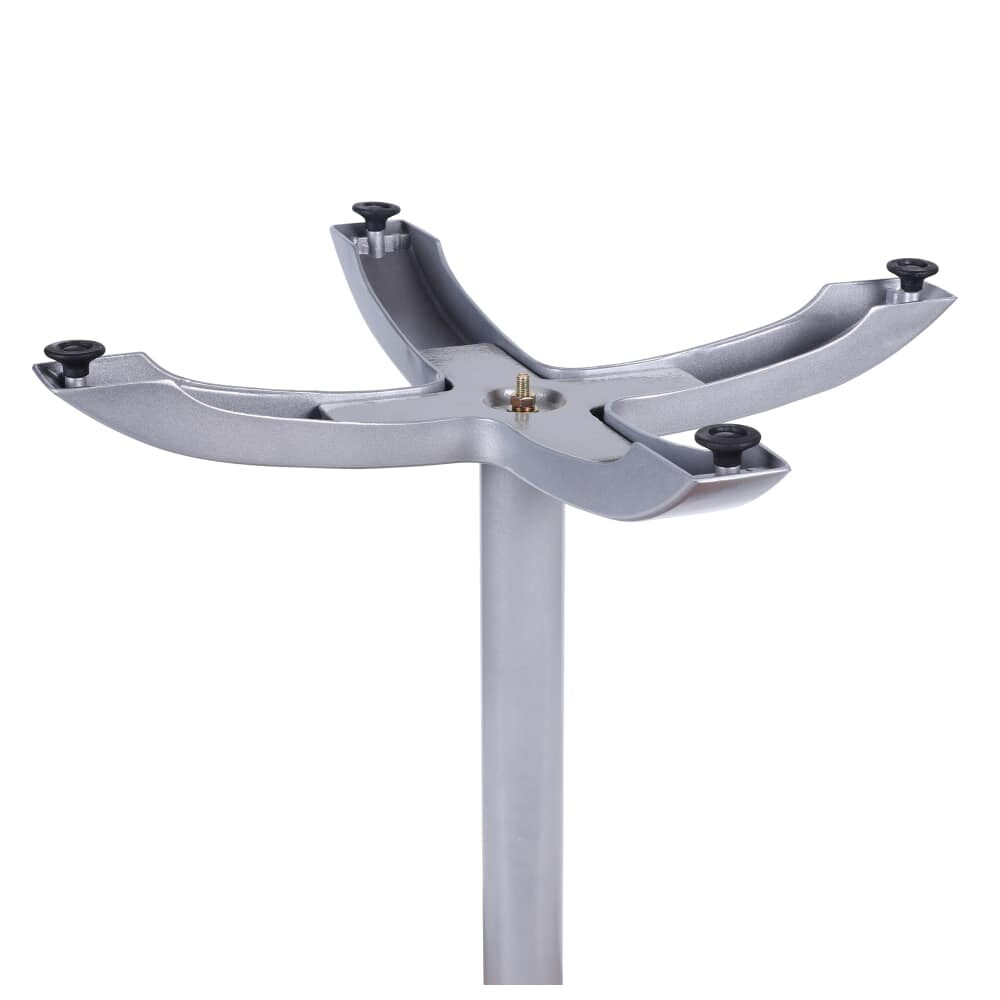
Under a round top, measure across the base's feet. The span ought to come to two thirds of the top's diameter at minimum, which puts a 42-inch round on 28 inches or more. Smaller bases save floor space but tip when someone leans in. Look at cast iron bases for weight down low, and bar-height bases for tall tables.
Accessible seating
Start with the 2010 ADA Standards for Accessible Design. In outline, the top of an accessible dining surface is between 28 and 34 inches high (section 902.3). Under it, a wheelchair user needs knee space with a minimum height of 27 inches, width of 30 and depth of 19 (section 306), plus a 30 by 48 inch clear space to pull into.
The path to that table counts as an accessible route and must measure at least 36 inches across (section 403.5.1). Out of every 100 dining seats, 5 or more belong at accessible surfaces (section 226.1). These are general pointers: your project answers to the current edition of the standard and to the local code.
Worked example: a 600-square-foot bakery seating area
Say the floor past the bakery case measures 600 square feet. At 12 square feet a seat, a counter-service figure, that gives about 50 seats. Split them where people actually sit.
The front window runs 16 feet, with a 42-inch ledge. At 24 inches center to center it takes 8 stools with seats of 29 to 31 inches. A side counter at 36 inches runs 13 feet, 156 inches; at 26 inches apart it takes 6 stools of 24 to 26 inches. That is 14 stools.
The other 36 seats go at tables. Ten two-seat tables with 24 by 30 tops seat 20. Four 42-inch rounds seat 16. So the shopping list reads: 14 stools, 36 chairs, 14 tops and 14 bases, with spreads of 28 inches or more under the rounds. That is well past the eight-piece minimum, and it is a list you can check against the drawing before anything is bought.
From seats to a shopping list
Work the same way for any room. Fix the seat count from the floor area. Take away what the window and counter hold. Divide the rest by party size, then count one top and one base per table and one chair per seat. Add a spare chair or two for the day one breaks.
Draw it in a shop plan
Put each zone in its own shop plan: the window, the counter, the tables. Save the pieces with quantities and notes, then download the project sheet for your contractor. Nobody else can see your plans; they sit on our server and the browser you made them in opens them again. When the plan looks right, start with counter stools and cafe chairs, or book a call with a specialist to go over the drawing.